If you want to share access to your Google Business Profile—whether for marketing support, SEO updates, or to help manage your hours, photos, or reviews—this guide will walk you through it step by step.
You’ll also learn which user role to assign based on what the person needs to do on your behalf.
✅ Step 1: Find Your Business on Google
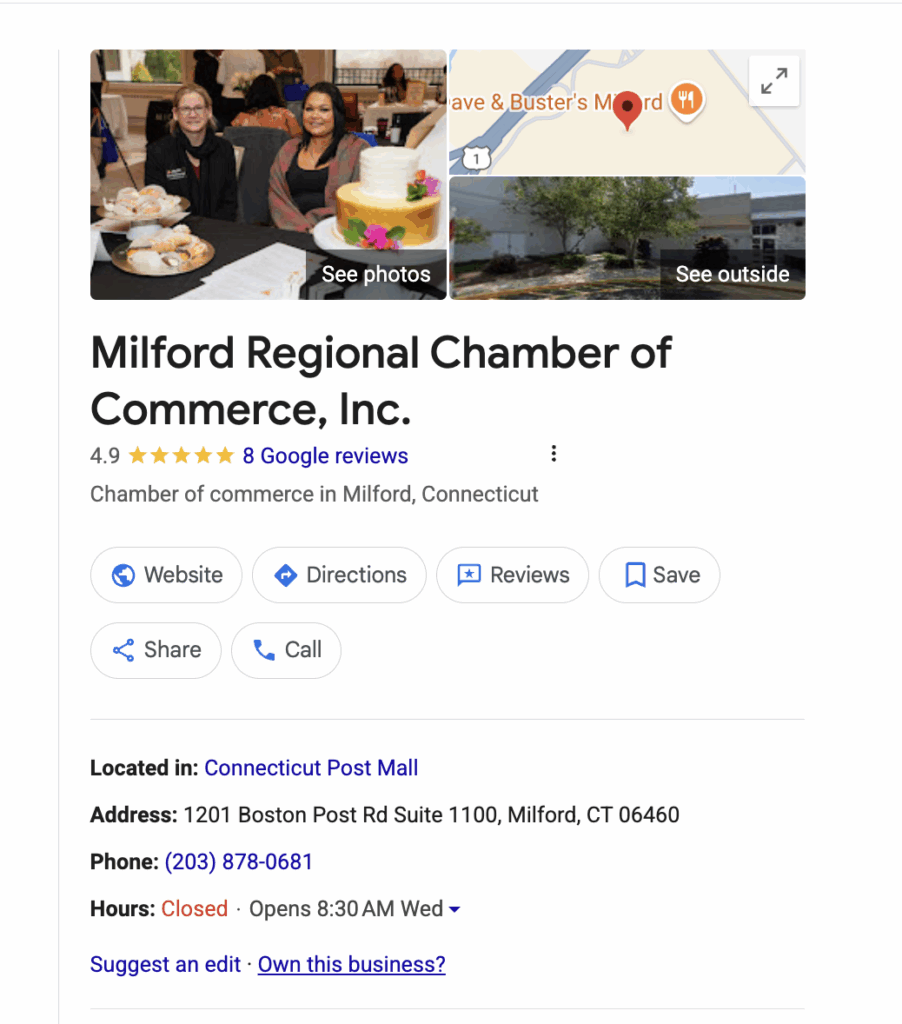
Start by Googling your business name and location. For example: 🔎 North Star Design Studio in Milford CT
You should see a box at the top that says “Your business on Google”, and your Google Business Profile card should appear on the right side of the page.
Caption: If your screen looks generally like this, you’re in the right place.
🔄 Troubleshooting Access
If you don’t see that card or option:
Try searching from Google Maps instead of Google Search. Some profiles are managed through Maps, depending on how they were set up.
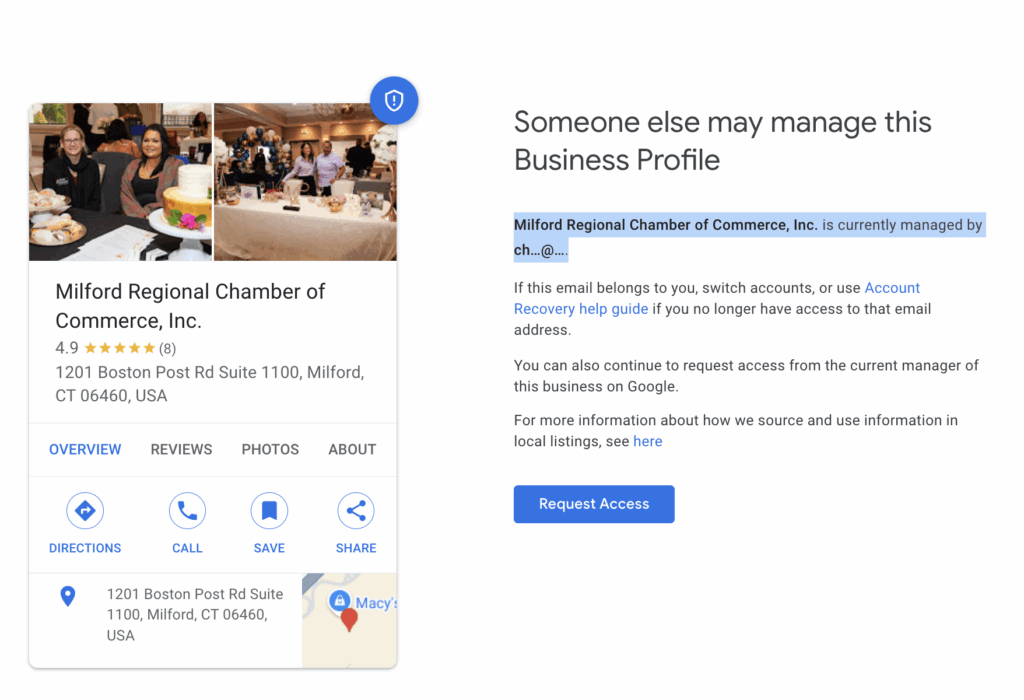
Make sure you’re logged into the correct Google account. If you’re unsure which account manages the listing, click the “Own this business?” link on the profile card.
Caption: You’ll get a hint about which email address is the owner—just enough to help you figure it out.
✅ Step 2: Open Business Profile Settings
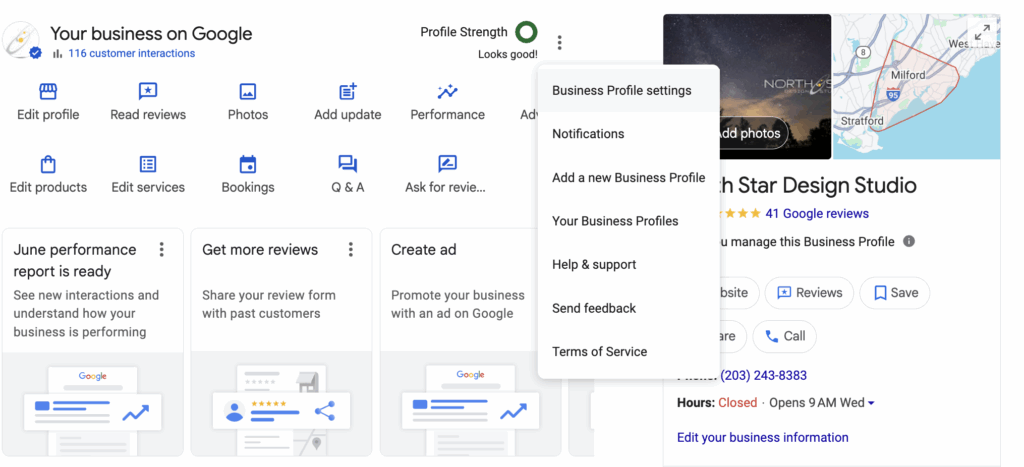
Click the kebab menu (⋮) next to your business name and select Business Profile Settings.
Caption: This opens your full GBP management menu.
✅ Step 3: Choose “People and Access”
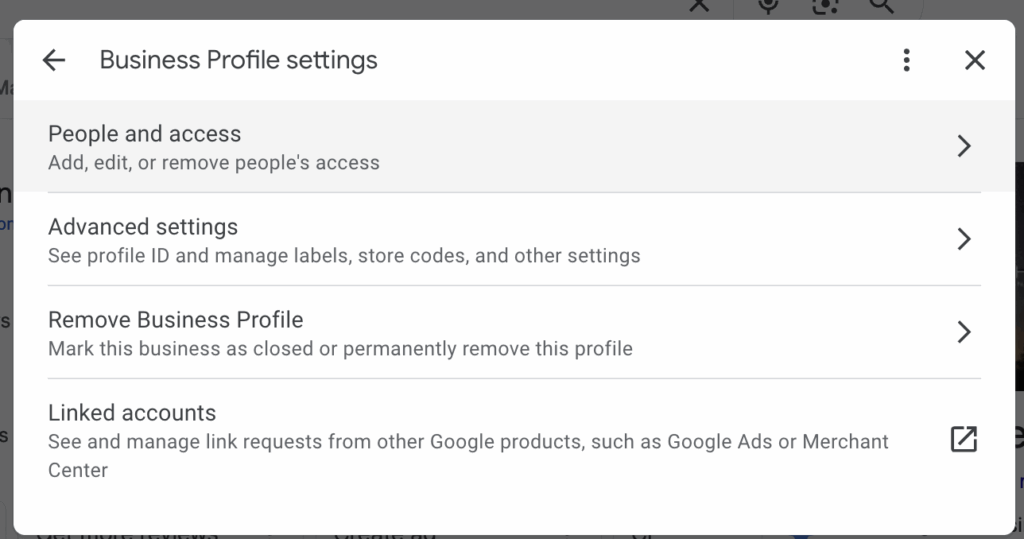
In the Business Profile Settings, click on People and Access.
Caption: This is where you manage user roles and invites.
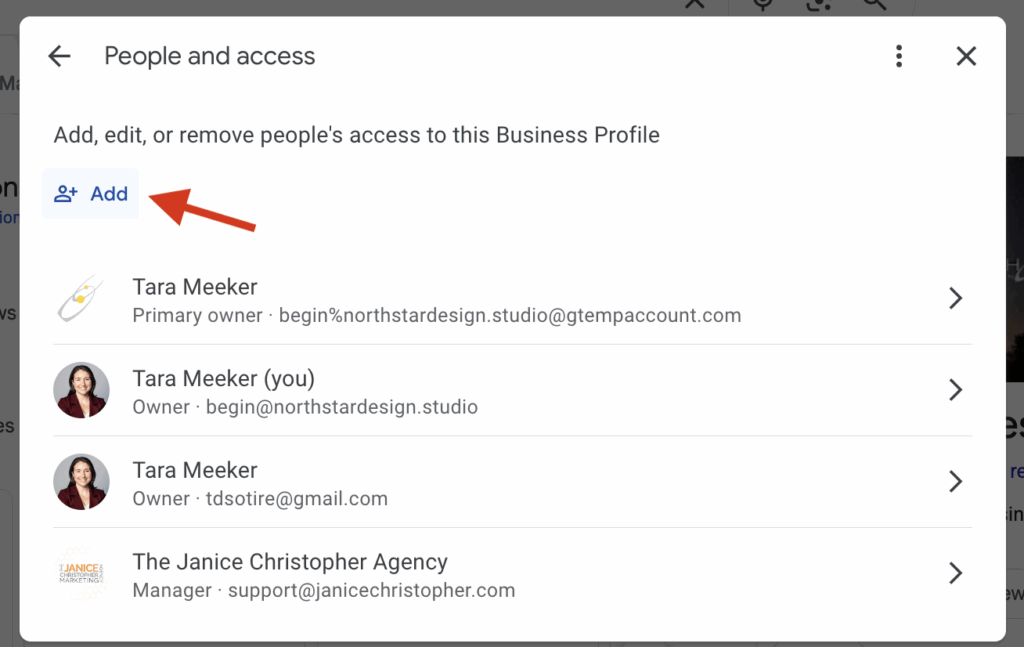
✅ Step 4: Click “Add”
In the People and Access section, click the blue Add button.
Caption: This opens the user invitation form.
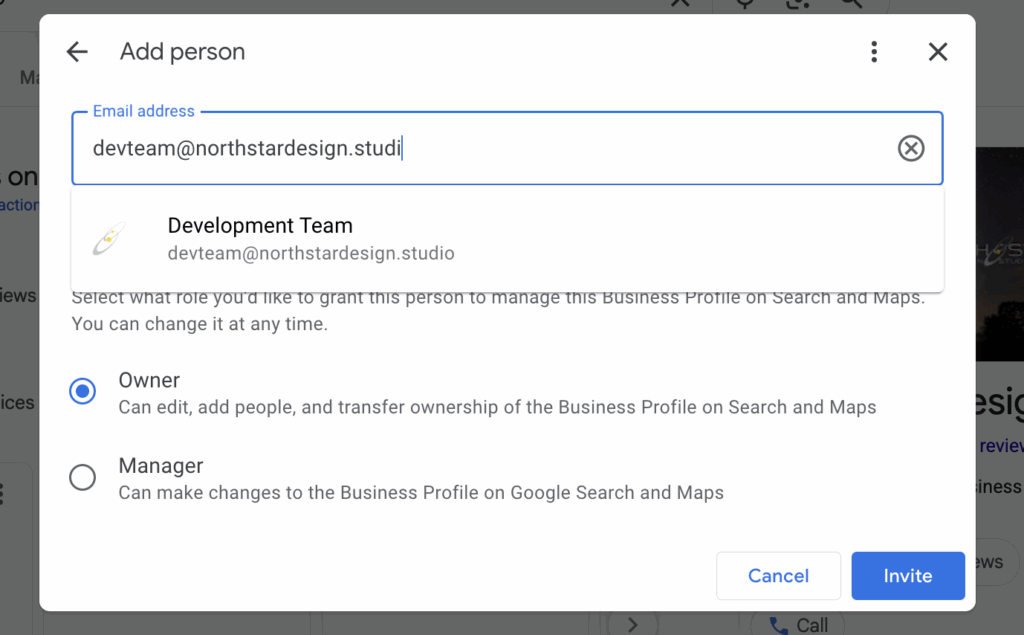
✅ Step 5: Add the New User’s Email and Assign a Role
Enter the email address of the person you’re inviting and assign one of the following two roles:
Role
Who it’s for
What they can do
Owner
You or another trusted business principal
Full control, including adding/removing users and deleting the listing
Manager
Marketing teams, agencies, support staff
Can edit business info, respond to reviews, post updates, but cannot manage users or remove the listing
Caption: Choose a role, then click Invite.
✅ Step 6: Confirm the Invite
Once you send the invite, the new user will appear as Pending under the People and Access card.
📬 The user will receive an email with instructions. If they don’t see it within 10 minutes:
Ask them to check their spam/junk folder
Double-check the spelling of the email address you entered
If needed, you can revoke the invite at any time.
💡 Pro Tip: Protect Your Account with Proper Roles
Instead of sharing your login info, assign users their own role. This is a more secure and professional approach—and it ensures you can revoke or adjust access later with no disruption.