If you’d like my team to help streamline your social media efforts—whether it’s integrating automated publishing software like CloudCampaign or updating your branding elements on LinkedIn (like icons, headers, and descriptions)—you’ll need to add me as a Super Admin to your company’s LinkedIn page.
Below is a quick guide (with screenshots!) to walk you through it.
✅ Step 1: Go to Your LinkedIn Business Page
Make sure you’re signed in to the LinkedIn account that manages your company page. Then, navigate to your business profile.
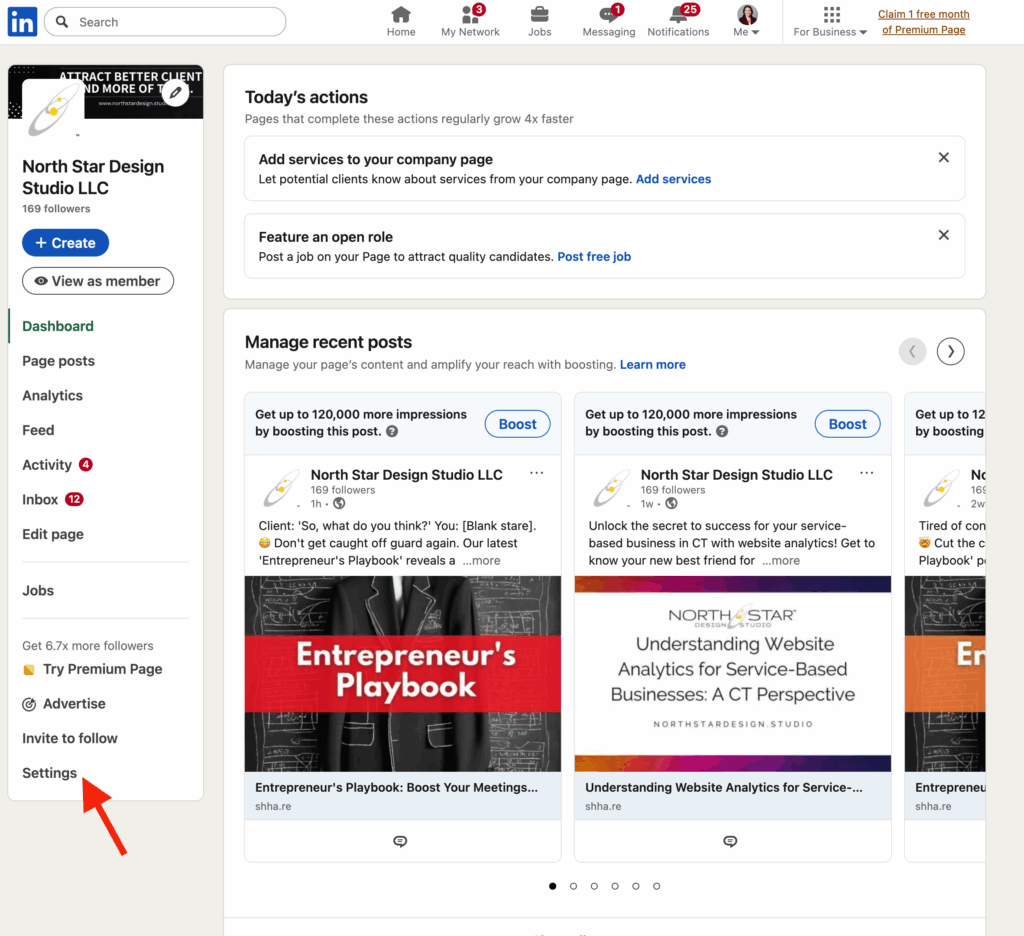
✅ Step 2: Click on “Settings”
Scroll down the left-hand sidebar and click Settings at the very bottom.
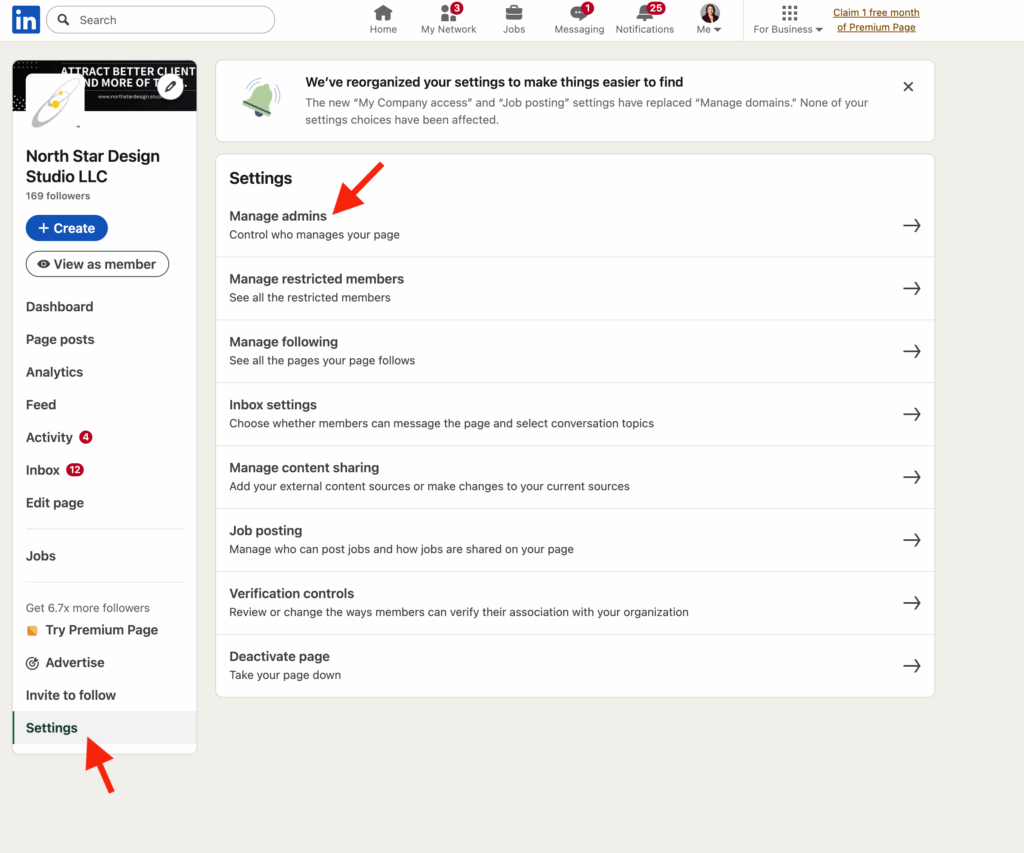
✅ Step 3: Choose “Manage Admins”
Once inside the settings menu, click the top option labeled Manage admins.
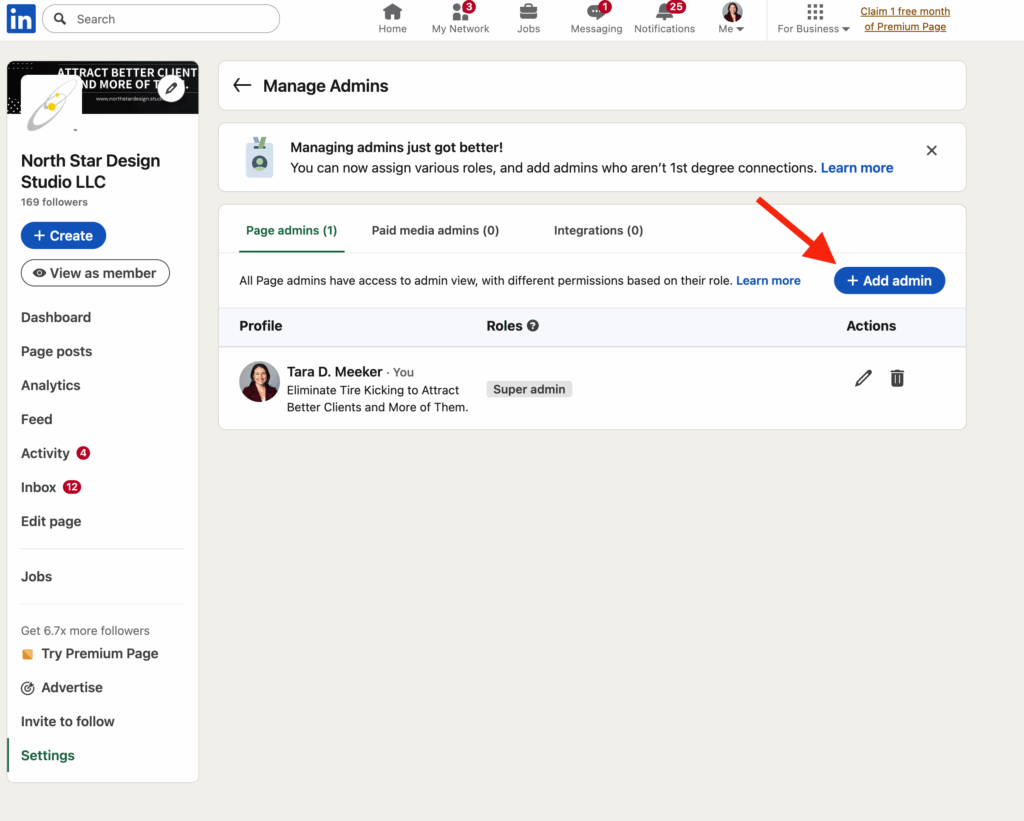
✅ Step 4: Click the Blue “+ Add Admin” Button
In the “Page admins” tab, click the + Add admin button on the right-hand side.
✅ Step 5: Search for My Name
Type in Tara D. Meeker and select my profile.
🔗 https://www.linkedin.com/in/tdmeeker/

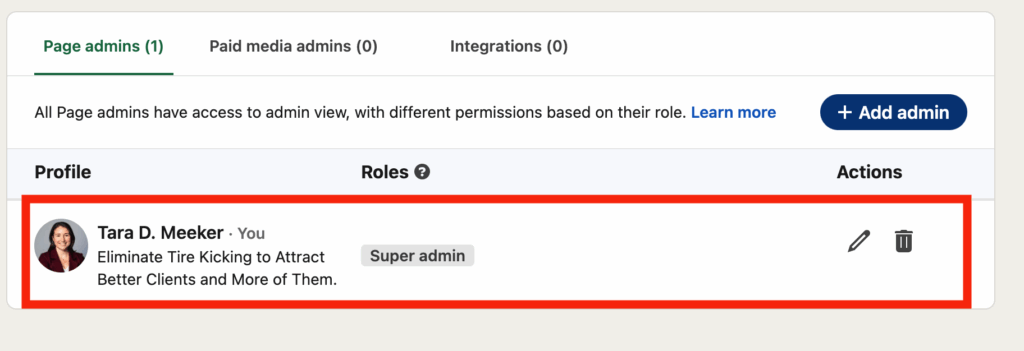
✅ Step 6: Assign Me the Role of “Super Admin”
Check Super admin (this gives full access, which is needed for integrations and page edits), then click Save.
That’s it!
You’re done. I’ll receive a notification and can get started on the next steps right away. If you run into any issues or need me to walk you through it live, feel free to reach out.
💡 Pro Tip: Don’t Share Your Login—Assign Admin Access Instead
As a best practice, always assign admin access instead of sharing your LinkedIn login details. This keeps your business page secure and lets you easily remove or change access later if needed—without compromising your personal or team account.
We break this down further (and explain how SOPs like this protect your team and business) in this article:
🔗 Your North Star SOPs That Empower Your Website, Support Your Team, and Strengthen Your Business